
How we work
From the first conversation to the final detail. Four steps, with room to refine the direction together.
Discuss your idea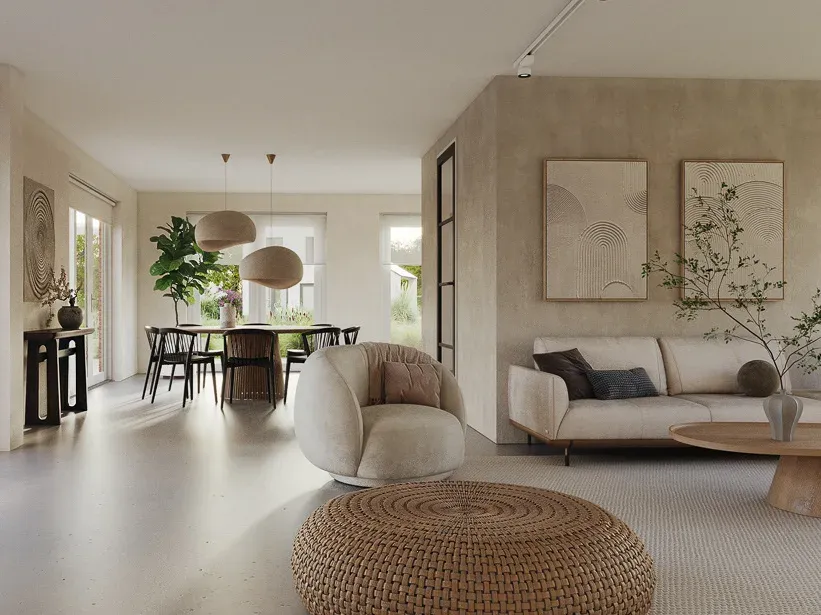
01 · Finding the right direction
What do you want to show, to whom and where? We discuss your objectives, gather drawings and references, and agree on the visual direction. Before modelling begins, we know what the image needs to communicate.
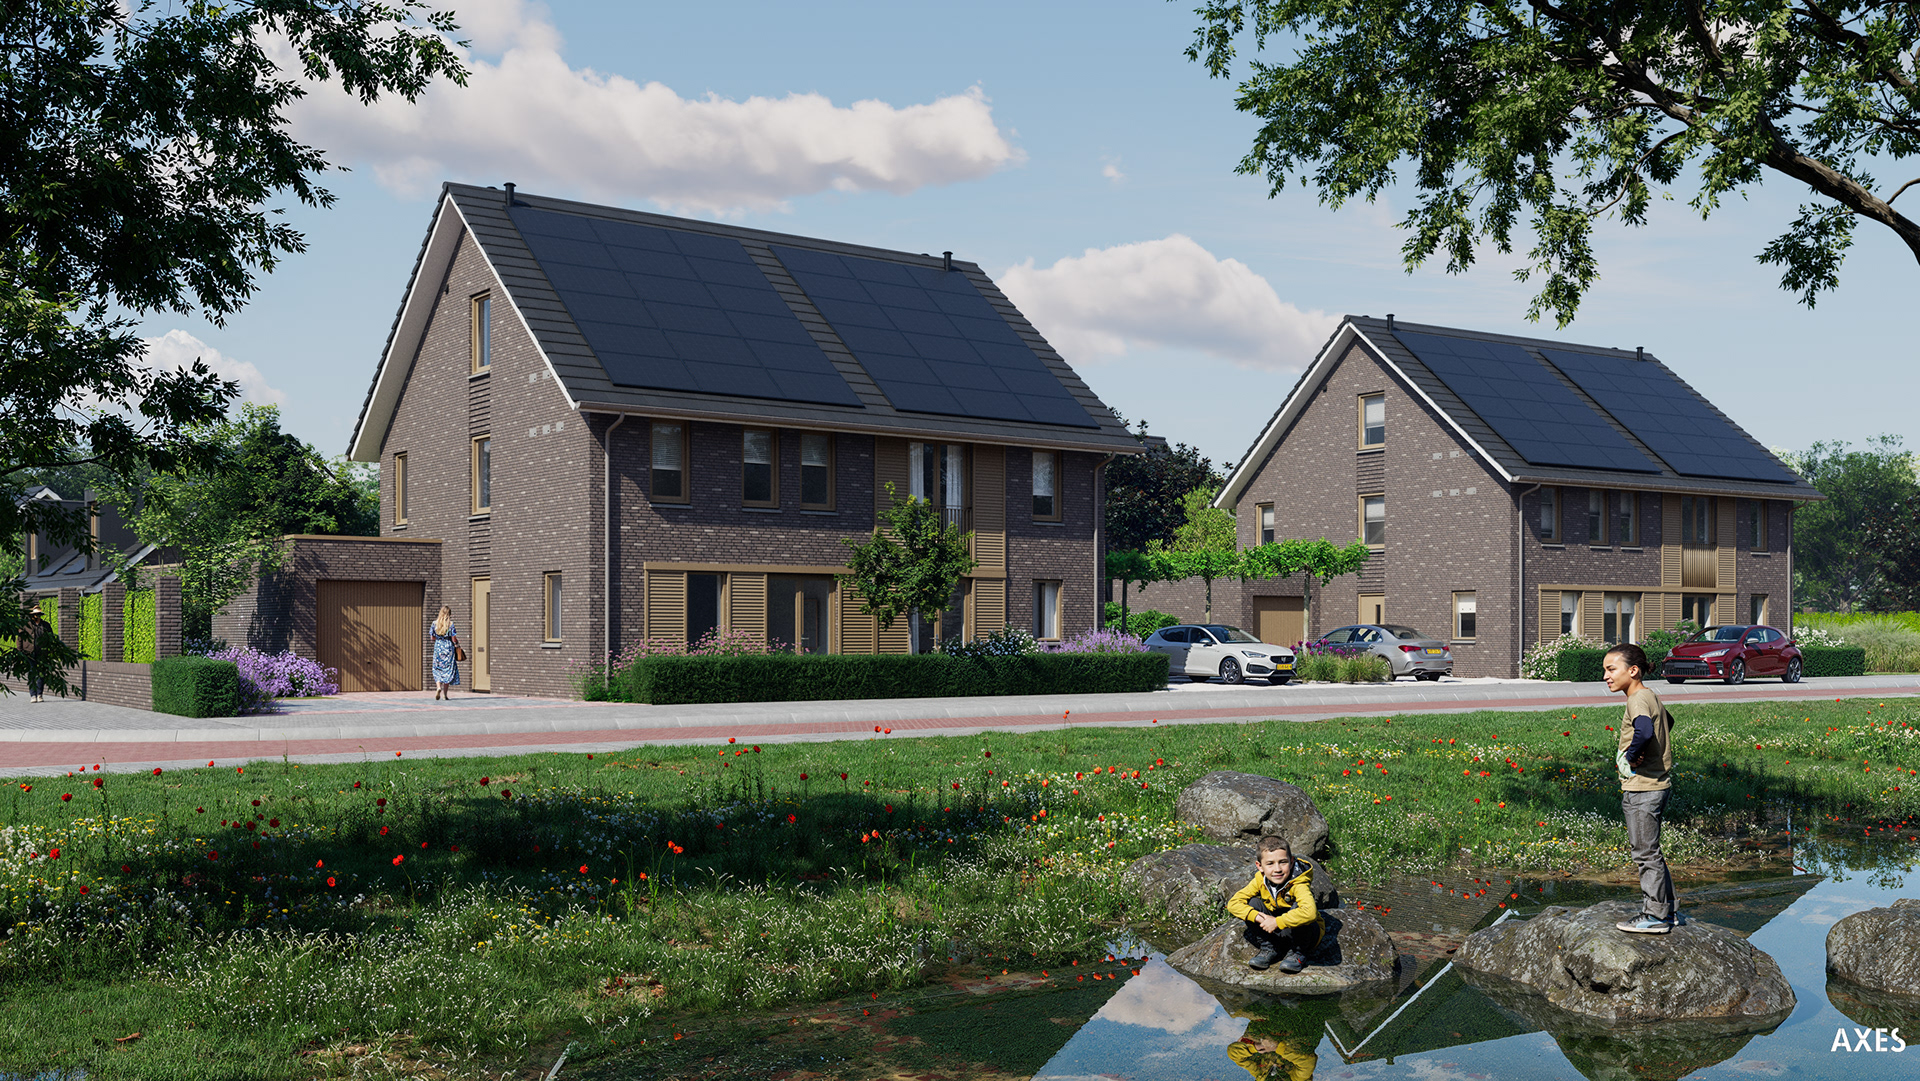
Project example: Krekenlanden, Nieuwkoop.
02 · The model and the composition
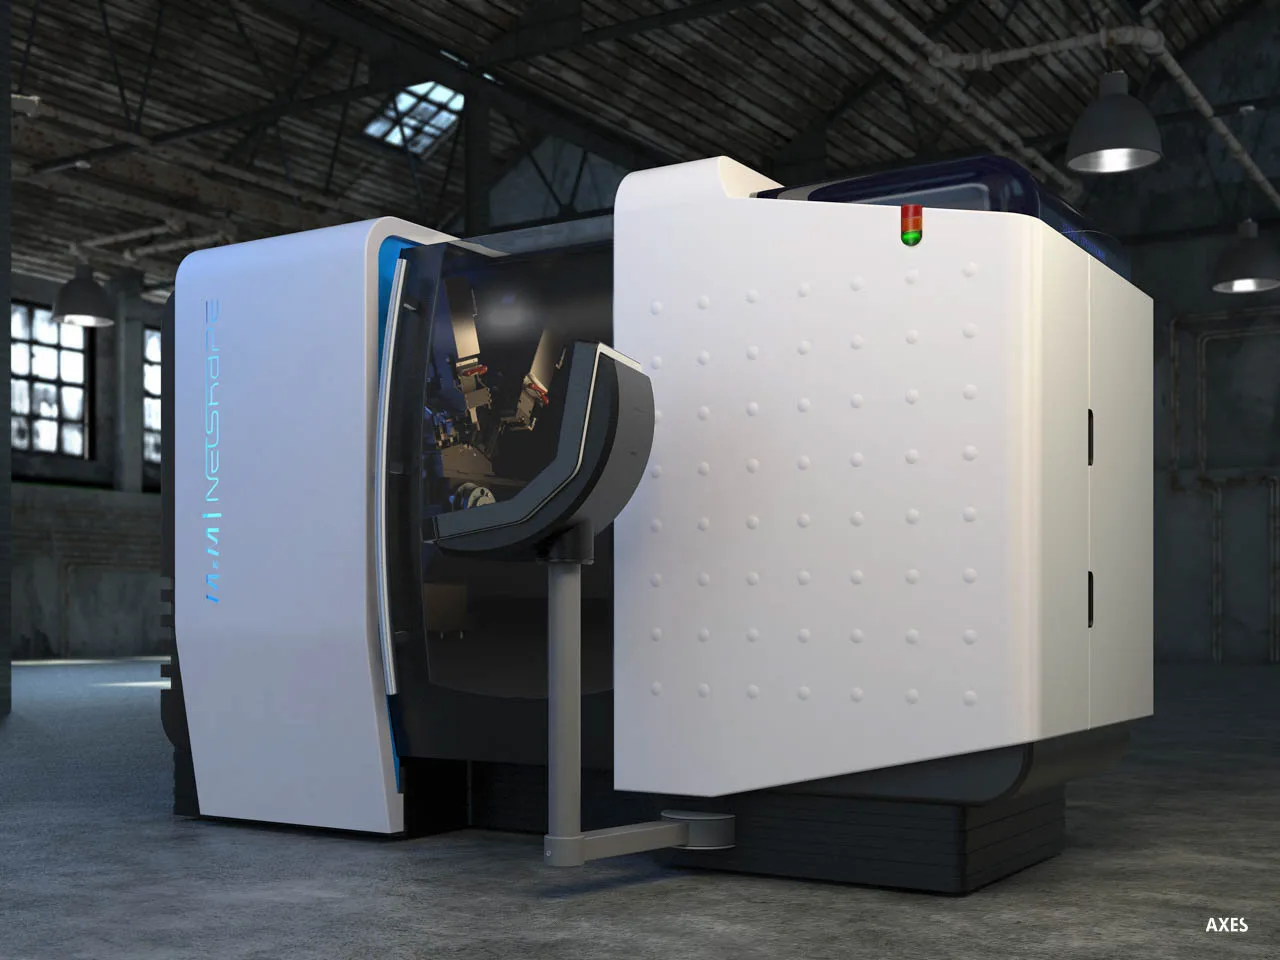
We build or optimise the 3D model and choose viewpoints that make your design easy to understand. Initial compositions help us align form, space and narrative before refining the details.
Project example: the technical product visualisation for Netshape.
03 · Materials, lighting and feedback
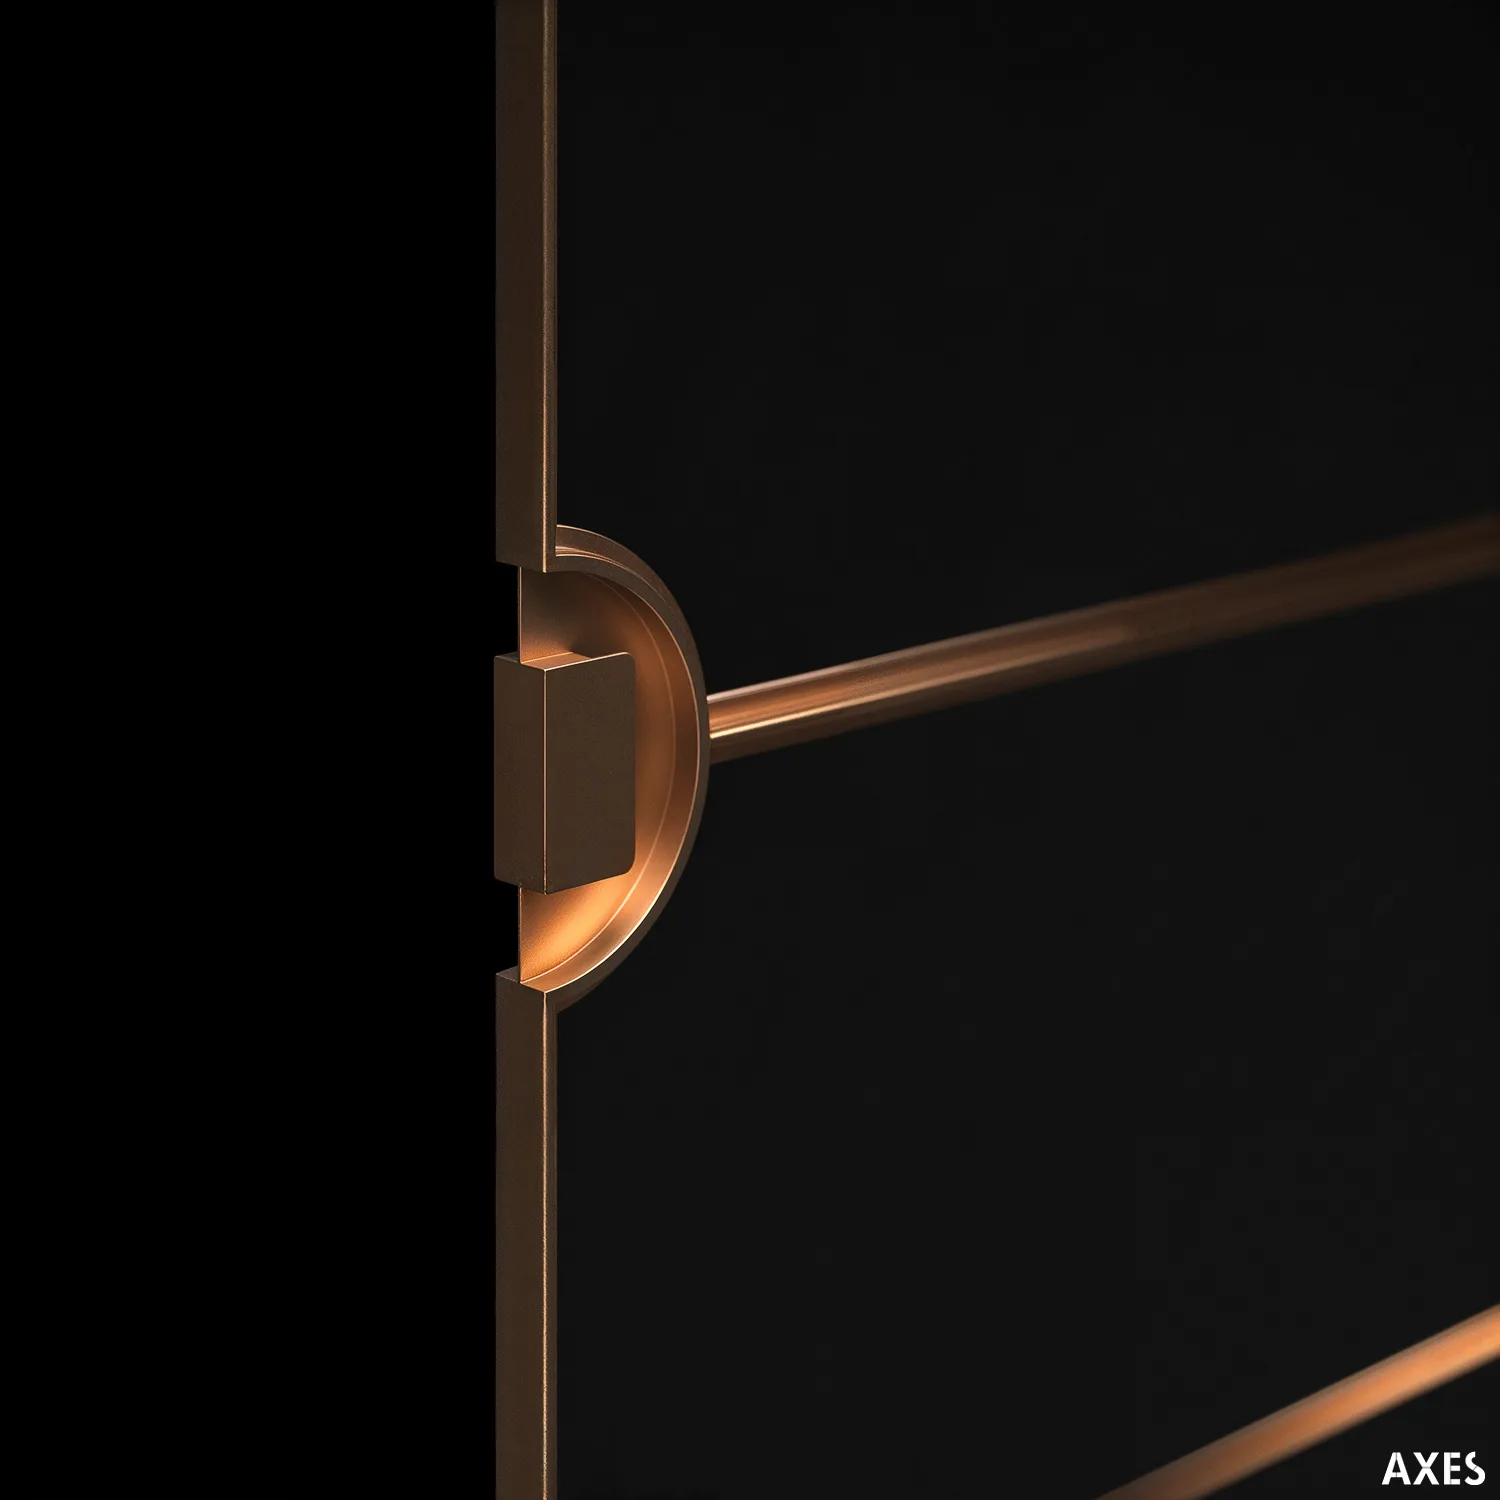
Colour, texture, reflections and lighting give the image its character. We share previews and incorporate your feedback at clear review stages. From a brass detail to the atmosphere of a complete interior.
Project example: the door handles by De Rooy.
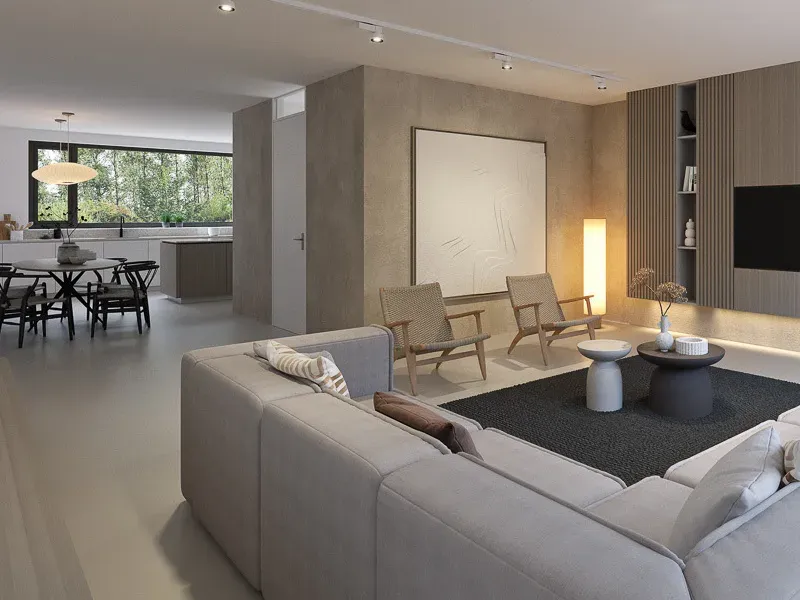
04 · Imagery for your application
After the final review, we complete the image or animation. You receive files suited to their intended use, from websites and presentations to campaigns. A coherent result, down to the last detail.
Project example: the BLOS interior in Arnhem.
Have a product, project or idea in mind?
Start with your idea and how you want to use the images. A sketch, CAD model or reference helps; you do not need a complete brief.